Install LiteLLM With Docker Compose and Simplify LLMs
Discover LiteLLM, the game-changing tool that simplifies LLM management, cuts costs, and boosts efficiency for developers and businesses alike.

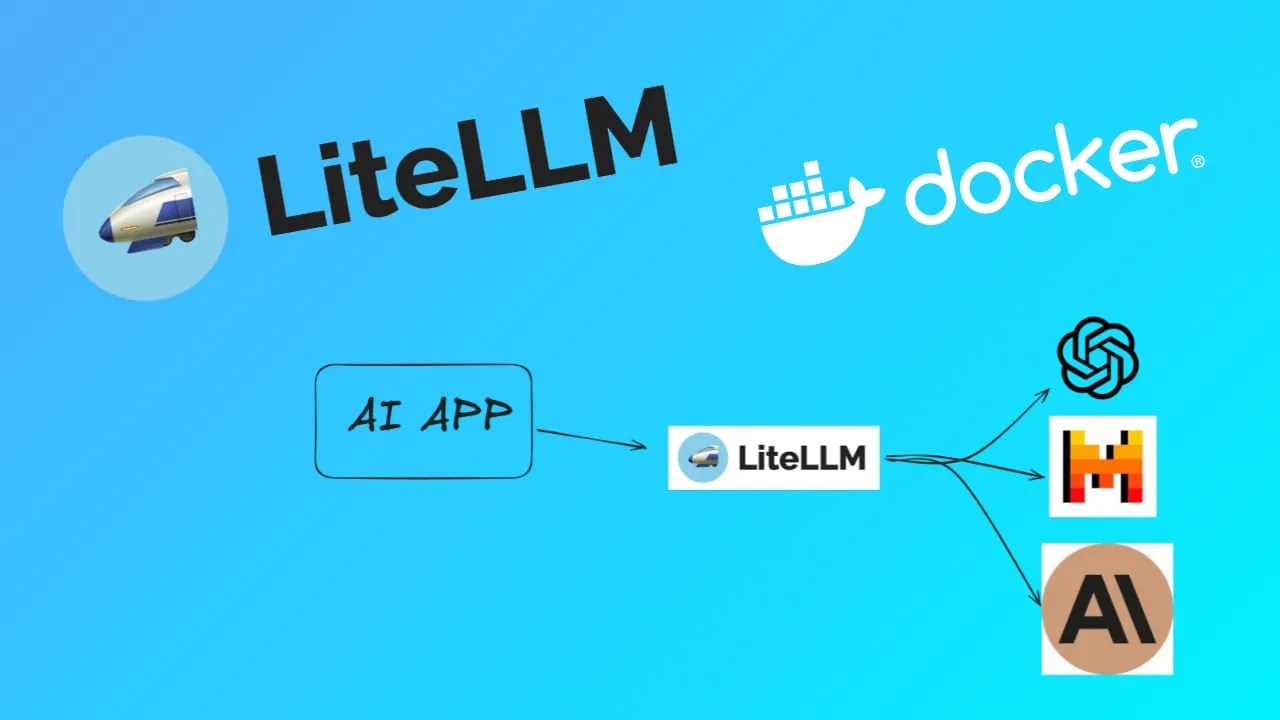
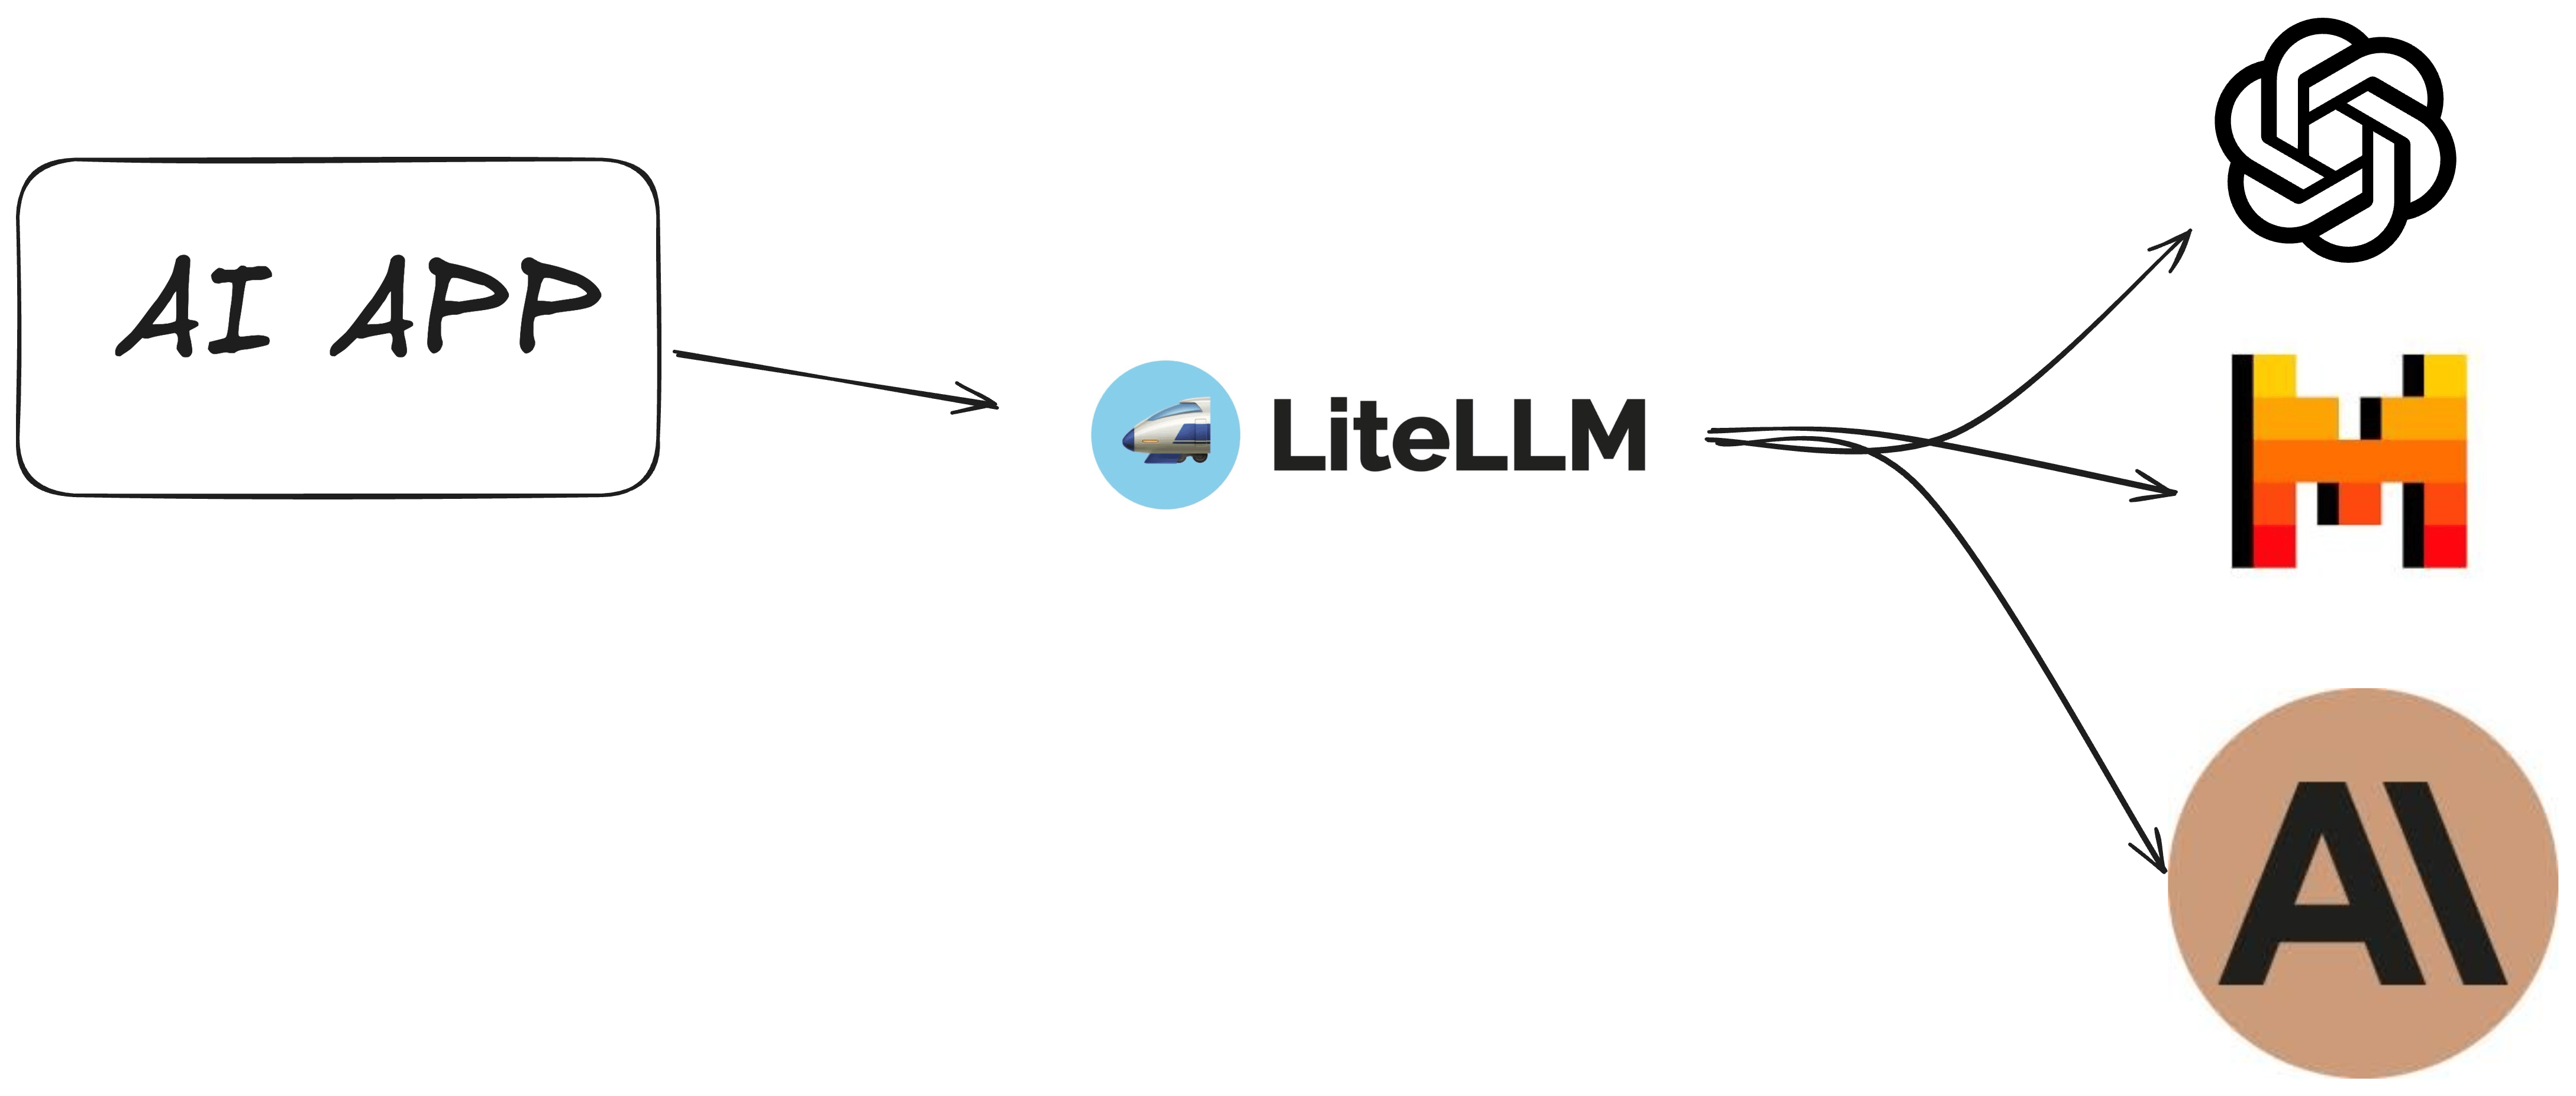
LiteLLM is a tool designed to manage and interact with multiple large language models (LLMs) through a unified interface. It supports over 100 different LLMs, including those from HuggingFace, Bedrock, TogetherAI, and others, using the OpenAI format for API calls. This makes it a versatile solution for developers looking to integrate various LLMs into their applications.
Key Features of LiteLLM
-
Unified Interface: LiteLLM offers a single, convenient interface to call over 100 different LLMs, such as those from HuggingFace, Bedrock, and TogetherAI, using the OpenAI API specification. This feature simplifies the integration and management of multiple models.
-
Cost Efficiency: The model is optimized to reduce computational costs, making it a more affordable option for NLP tasks. This also contributes to lowering the environmental impact associated with running large-scale models.
-
Flexibility and Simplicity: LiteLLM enables seamless transitions between various models with minimal code changes. Users can switch between models like GPT-3.5, O Lama, and Palm 2 effortlessly, which enhances the flexibility of application development.
-
Load Balancing: LiteLLM can handle a high volume of requests, supporting up to 1,500 requests per second during load tests. This capability ensures efficient processing and distribution of requests across multiple models and deployments.
-
Compatibility: It is compatible with several SDKs, including OpenAI, Anthropic, Mistral, LLamaIndex, and Langchain, allowing for diverse integration options across different platforms.

How LiteLLM Can Help You
LiteLLM can significantly benefit developers and organizations by providing a streamlined and efficient approach to working with LLMs. By offering a unified interface, it reduces the complexity involved in managing multiple models, thereby saving time and resources. Its cost-effective nature makes it an attractive option for businesses looking to leverage NLP capabilities without incurring high expenses. Additionally, the tool’s flexibility and compatibility with various SDKs and models make it a versatile solution for a wide range of applications, from chatbots to advanced data analysis.
Overall, LiteLLM’s features and capabilities make it a powerful tool for enhancing productivity and reducing costs in NLP projects.
LiteLLM Deploy Options
When deploying LiteLLM using Docker Compose, there are notable differences between deploying with and without a database.
Deployment Without a Database
- Configuration Simplicity: Deploying LiteLLM without a database involves fewer components, making the setup process simpler. You primarily need to configure the application using a configuration file (
litellm_config.yaml) and run the Docker container with necessary environment variables and ports. We are going to see below. - Use Cases: This setup is suitable for scenarios where persistent data storage is not required, or the application can function with in-memory data or external APIs.
Deployment With a Database
- Database Requirement: When deploying with a database, you need to set up a Postgres database and provide a
DATABASE_URLin the environment variables. This setup is essential for applications that require persistent data storage. - Additional Configuration: You must configure the database connection details in the environment variables and ensure that the database service is up and running before the application starts. This might involve using Docker Compose to define the startup order.
- Data Persistence: Using a database allows for persistent data storage, which is crucial for applications that handle significant amounts of data or require data integrity over time. It is important to use Docker volumes to ensure data is not lost when containers are stopped or removed.
- Complexity and Management: Deploying with a database adds complexity, as you need to manage database backups, scaling, and performance tuning. It is recommended to use separate containers for the database and application to maintain a clean separation of concerns and facilitate easier management.
In summary, deploying LiteLLM with a database provides the advantage of data persistence and is suitable for production environments, while deploying without a database is simpler and more suited for development or scenarios where persistent storage is not critical.
Install LiteLLM with Docker Compose
If you are interested to see some free cool open source self hosted apps you can check toolhunt.net self hosted section.
In case you are interested to monitor server resources like CPU, memory, disk space you can check: How To Monitor Server and Docker Resources
Prerequizites
Before you begin, make sure you have the following prerequisites in place:
- VPS where you can host LiteLLM, you can use one from Hetzner You can use a VPS to have LiteLLM installed but performances will not be that good. In our test we are using a 8 CPUs 16 GB RAM and is bearly moving. Best will be to have a GPU powered system.
- Traefic with Docker set up, you can check: How to Use Traefik as A Reverse Proxy in Docker or Traefik FREE Let’s Encrypt Wildcard Certificate With CloudFlare Provider
- Docker and Dockge installed on your server, you can check the Dockge - Portainer Alternative for Docker Management for the full tutorial.
Below we are going to check both options without a database and with a database so you can use the one that you need.
Install LiteLLM with Docker Compose - NO Database
First let’s create the LiteLLM config file, you can do so by checking the list here
litellm_config.yaml
model_list:
  - model_name: gpt-4o
    litellm_params:
      model: gpt-4o
  - model_name: claude-3-5-sonnet
    litellm_params:
      model: claude-3-5-sonnet-20240620
Docker Compose File
litellm:
  image: ghcr.io/berriai/litellm:main-latest
  restart: unless-stopped
  command:
    - "--config=/litellm_config.yaml"
    - "--detailed_debug"
  environment:
    LITELLM_MASTER_KEY: ${LITELLM_MASTER_KEY}
    OPENAI_API_KEY: ${OPENAI_API_KEY}
    ANTHROPIC_API_KEY: ${ANTHROPIC_API_KEY}
  volumes:
- ./litellm_config.yaml:/litellm_config.yaml- Image: Uses the Docker image
ghcr.io/berriai/litellm:main-latest. - Restart Policy: Set to
unless-stopped, ensuring automatic restarts unless manually stopped. - Command:
--config=/litellm_config.yaml: Specifies the configuration file.--detailed_debug: Enables verbose logging for troubleshooting.
- Environment Variables:
LITELLM_MASTER_KEY: Master key for LiteLLM.OPENAI_API_KEY: API key for OpenAI.ANTHROPIC_API_KEY: API key for Anthropic.
- Volumes: Mounts
./litellm_config.yamlfrom the host to/litellm_config.yamlin the container for configuration access.
.env file
LITELLM_MASTER_KEY=sk-1234
OPENAI_API_KEY=<openaiapikey>
ANTHROPIC_API_KEY= <ANTHROPIC key>
For a complete file with Open WebUI. I have created the OpenWebUI deploy with Ollama before and if you want to use Opem Web UI with LiteLLM below is the complete file:
services:
  openWebUI:
    image: ghcr.io/open-webui/open-webui:main
    container_name: openwebui
    hostname: openwebui
    networks:
      - traefik-net
    restart: unless-stopped
    volumes:
      - ./open-webui-local:/app/backend/data
    labels:
      - traefik.enable=true
      - traefik.http.routers.openwebui.rule=Host(`openwebui.domain.com`)
      - traefik.http.routers.openwebui.entrypoints=https
      - traefik.http.services.openwebui.loadbalancer.server.port=8080
    environment:
      OLLAMA_BASE_URLS: http://ollama:11434
      OPENAI_API_KEY: ${LITELLM_MASTER_KEY}
      OPENAI_API_BASE_URL: http://litellm:4000/v1
  ollama:
    image: ollama/ollama:latest
    container_name: ollama
    hostname: ollama
    networks:
      - traefik-net
    volumes:
      - ./ollama-local:/root/.ollama
  litellm:
    image: ghcr.io/berriai/litellm:main-latest
    networks:
      - traefik-net
    restart: unless-stopped
    command:
      - --config=/litellm_config.yaml
      - --detailed_debug
    environment:
      LITELLM_MASTER_KEY: ${LITELLM_MASTER_KEY}
      OPENAI_API_KEY: ${OPENAI_API_KEY}
      ANTHROPIC_API_KEY: ${ANTHROPIC_API_KEY}
    volumes:
      - ./litellm_config.yaml:/litellm_config.yaml
networks:
  traefik-net:
external: true- OPENAI_API_BASE_URL is pointing to the container with Lite LLM
Install LiteLLM with Docker Compose - With Database
To have access to advanced features and save details to database you can install LiteLLM with Postgress and have access to the UI also.
services:
  litellm:
    image: ghcr.io/berriai/litellm:main-latest
    networks:
      - traefik-net
    restart: unless-stopped
    depends_on:
      - litellm-db
    environment:
      DATABASE_URL: postgresql://${POSTGRES_USER}:${POSTGRES_PASSWORD}@litellm-db:5432/${POSTGRES_DB}
      LITELLM_MASTER_KEY: ${LITELLM_MASTER_KEY}
      UI_USERNAME: ${UI_USERNAME}
      UI_PASSWORD: ${UI_PASSWORD}
      STORE_MODEL_IN_DB: "True"
    labels:
      - traefik.enable=true
      - traefik.http.routers.litellm.rule=Host(`litellm.domain.com`)
      - traefik.http.routers.litellm.entrypoints=https
      - traefik.http.services.litellm.loadbalancer.server.port=4000
  litellm-db:
    image: postgres:16-alpine
    networks:
      - traefik-net
    healthcheck:
      test:
        - CMD-SHELL
        - pg_isready -U ${POSTGRES_USER} -d ${POSTGRES_DB}
      interval: 5s
      timeout: 5s
      retries: 5
    volumes:
      - ./litellm-db:/var/lib/postgresql/data:rw
    environment:
      POSTGRES_DB: ${POSTGRES_DB}
      POSTGRES_USER: ${POSTGRES_USER}
      POSTGRES_PASSWORD: ${POSTGRES_PASSWORD}
    restart: on-failure:5
networks:
  traefik-net:
external: true-
litellm:
- Image: Uses the
litellmimage from GitHub Container Registry with themain-latesttag. - Networks: Connects the
litellmservice to thetraefik-netnetwork, allowing it to communicate with Traefik. - Restart Policy: Sets the restart policy to
unless-stopped, meaning the container will always restart unless explicitly stopped. - Depends On: Specifies that
litellmdepends on thelitellm-dbservice, ensuring the database is available before starting the application. - Environment Variables:
DATABASE_URL: Constructs the PostgreSQL connection string using environment variables for the user, password, and database name.LITELLM_MASTER_KEY: A security key used for the application.UI_USERNAMEandUI_PASSWORD: Credentials for accessing the application’s user interface.STORE_MODEL_IN_DB: A flag set to"True"to indicate that models should be stored in the database.
- Labels (for Traefik):
traefik.enable=true: Enables Traefik for thelitellmservice.traefik.http.routers.litellm.rule=Host(litellm.domain.com): Specifies the domain name for routing requests tolitellm.traefik.http.routers.litellm.entrypoints=https: Configures Traefik to use the HTTPS entry point for thelitellmservice.traefik.http.services.litellm.loadbalancer.server.port=4000: Sets the port for thelitellmservice to 4000.
- Image: Uses the
-
litellm-db:
- Image: Uses the
postgres:16-alpineimage, which is a lightweight version of PostgreSQL based on Alpine Linux. - Networks: Connects the
litellm-dbservice to thetraefik-netnetwork for communication. - Health Check:
- Command:
pg_isready -U ${POSTGRES_USER} -d ${POSTGRES_DB}checks if the PostgreSQL server is ready to accept connections using the specified user and database. - Interval: Runs the health check every 5 seconds.
- Timeout: Sets a timeout of 5 seconds for the health check.
- Retries: Specifies that the health check should retry up to 5 times before marking the service as unhealthy.
- Command:
- Volumes: Maps a local directory (
./litellm-db) to the PostgreSQL data directory (/var/lib/postgresql/data) using read-write permissions. This ensures data persistence for the database. - Environment Variables:
POSTGRES_DB: Specifies the name of the database to create.POSTGRES_USER: Sets the username for the PostgreSQL server.POSTGRES_PASSWORD: Defines the password for the PostgreSQL user.
- Restart Policy: Sets the restart policy to
on-failure:5, meaning the container will restart up to 5 times if it fails.
- Image: Uses the
Networks
- traefik-net:
- Defines an external network named
traefik-net, which is likely managed by the Traefik reverse proxy. This allows thelitellmandlitellm-dbservices to communicate with Traefik for routing and load balancing.
- Defines an external network named
You can check: How to Use Traefik as A Reverse Proxy in Docker or Traefik FREE Let’s Encrypt Wildcard Certificate With CloudFlare Provider to see hwo to set up Traefik on your server.
.env file:
Below are the configs files for you env file, you can change what you don’t like:
LITELLM_MASTER_KEY=sk-1234
POSTGRES_DB=litellm
POSTGRES_USER=litellm
POSTGRES_PASSWORD=litellm
UI_USERNAME=bitdoze
UI_PASSWORD=bitdoze
Conclusions
That’s how you can install LiteLLM and use it in your projects. With LiteLLM, you will significantly simplify the process of integrating and managing multiple language models in your applications.
LiteLLM’s unified interface and support for over 100 different LLMs make it an invaluable tool for developers looking to leverage the power of various language models without the complexity of managing multiple APIs. Its cost efficiency, flexibility, and load balancing capabilities further enhance its value for both small-scale projects and large-scale deployments.
By following this guide, you’ve set up a powerful infrastructure that can serve as the backbone for your AI-driven applications. Whether you’re building chatbots, content generation tools, or complex NLP systems, LiteLLM provides the flexibility and simplicity to streamline your development process.
For those interested in exploring more Docker containers to enhance your self-hosted setup or complement your LiteLLM installation, don’t forget to check out our comprehensive guide on Best 100+ Docker Containers for Home Server. This resource offers a wealth of options for various applications and services that can be seamlessly integrated into your Docker environment, helping you build a robust and versatile self-hosted ecosystem.


