Langfuse Docker Install: Self Hosted LangSmith Alternative
Learn how you can install Langfuse with docker compose and Postgres DB and take advantage of the observability software for your AI apps.
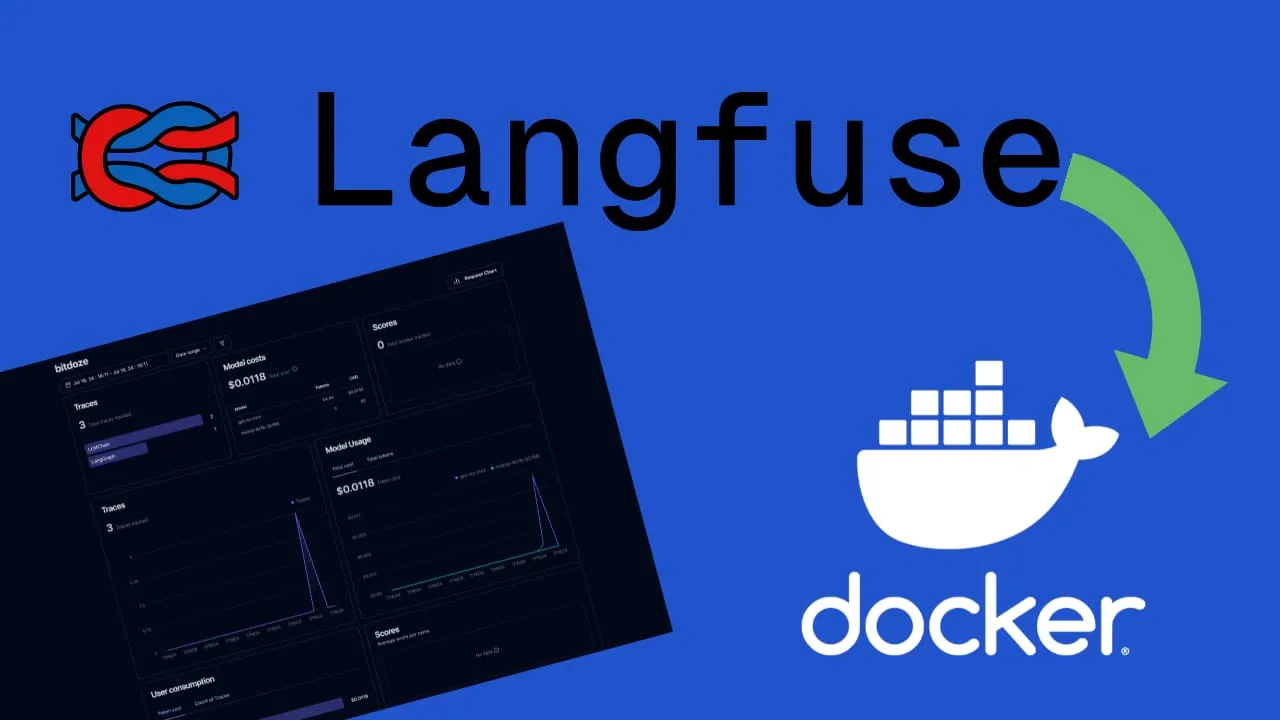
Langfuse is an open-source LLM engineering platform that offers a comprehensive suite of tools for observability, metrics, evaluations, prompt management, and dataset handling. As a self-hosted alternative to LangSmith, Langfuse provides developers with powerful capabilities for managing and optimizing their language model applications.
Key features of Langfuse include:
-
Observability: Langfuse allows you to instrument your application and ingest traces, providing detailed insights into your LLM’s performance and behavior.
-
Analytics: Track important metrics such as cost, latency, and quality through customizable dashboards and data exports.
-
Prompt Management: Manage, version, and deploy prompts directly within the Langfuse platform, streamlining your workflow.
-
Evaluations: Collect and calculate scores for your LLM completions, including model-based evaluations, user feedback, and manual scoring.
-
Experimentation: Test and track application behavior before deploying new versions, using datasets to benchmark performance.
-
LLM Playground: A built-in environment for testing and iterating on prompts.
-
Integrations: Langfuse offers seamless integration with popular LLM frameworks like LlamaIndex and Langchain.
For those looking to self-host Langfuse using Docker, the platform provides a straightforward deployment process. Langfuse can be deployed as a single Docker container, making it simple to set up and maintain.
Step-by-Step Guide to Installing LangFuse on Docker
If you are interested to see some free cool open source self hosted apps you can check toolhunt.net self hosted section.
In case you are interested to monitor server resources like CPU, memory, disk space you can check: How To Monitor Server and Docker Resources
1. Prerequisites
Before you begin, make sure you have the following prerequisites in place:
- VPS where you can host Langfusew, you can use one from Hetzner or use a Mini PC as Home Server
- Docker and Dockge installed on your server, you can check the Dockge - Portainer Alternative for Docker Management for the full tutorial.
- CloudFlare Tunnels are configured for your VPS server, the details are in the article here I deployed Dockge
- OR reverse proxy with CloudPanel you can check: Setup CloudPanel As Reverse Proxy with Docker and Dockge
You can use also Traefik as a reverse proxy for your apps. I have created a full tutorial with Dockge install also to manage your containers on: How to Use Traefik as A Reverse Proxy in Docker
2. Langfuse Docker Compose File
version: "3.9"
services:
  langfuse-db:
    image: postgres:16-alpine
    container_name: LangFuse-DB
    hostname: langfuse-db
    healthcheck:
      test: ["CMD-SHELL", "pg_isready -U ${POSTGRES_USER} -d ${POSTGRES_DB}"]
      interval: 5s
      timeout: 5s
      retries: 5
    volumes:
      - ./langfuse-db:/var/lib/postgresql/data:rw
    environment:
      POSTGRES_DB: ${POSTGRES_DB}
      POSTGRES_USER: ${POSTGRES_USER}
      POSTGRES_PASSWORD: ${POSTGRES_PASSWORD}
    restart: on-failure:5

  langfuse:
    image: langfuse/langfuse:latest
    container_name: LangFuse
    ports:
      - 5061:3000
    restart: unless-stopped
    depends_on:
      - langfuse-db
    environment:
      DATABASE_URL: postgresql://${POSTGRES_USER}:${POSTGRES_PASSWORD}@langfuse-db:5432/${POSTGRES_DB}?sslmode=disable
      NEXTAUTH_URL: https://longfuse.bitdoze.com
      NEXTAUTH_SECRET: ${NEXTAUTH_SECRET}
      SALT: ${SALT}
      LANGFUSE_CSP_ENFORCE_HTTPS: true
      LANGFUSE_ENABLE_EXPERIMENTAL_FEATURES: false
      TELEMETRY_ENABLED: false
      AUTH_DISABLE_SIGNUP: ${AUTH_DISABLE_SIGNUP}
This Docker Compose file defines two services:
-
langfuse-db: This service sets up a PostgreSQL database using the official PostgreSQL Alpine image. It includes:
- A healthcheck to ensure the database is ready before other services start
- A volume mount to persist data
- Environment variables for database configuration
- A restart policy to handle failures
-
langfuse: This service runs the main LangFuse application. It:
- Uses the latest LangFuse Docker image
- Exposes port 5061 for web access
- Depends on the langfuse-db service
- Sets various environment variables for configuration
Key points to note:
- The use of environment variables
${VARIABLE_NAME}allows for easy configuration without modifying the Docker Compose file directly. - The healthcheck in the database service ensures that the database is fully operational before LangFuse attempts to connect to it.
- The volume mount for the database ensures that your data persists even if the container is stopped or removed.
- The LANGFUSE_CSP_ENFORCE_HTTPS setting is set to true, enforcing HTTPS for enhanced security.
- Experimental features and telemetry are disabled by default.
3. .env File for LangFuse
To use the environment variables referenced in the Docker Compose file, you’ll need to create a .env file in the same directory. Here’s an example of what it should contain:
POSTGRES_USER='user'
POSTGRES_PASSWORD='pass'
POSTGRES_DB='langfuse'
NEXTAUTH_SECRET=aOlY0UgIitolkrZUWoWyVRwuo2BpUPKB/t2l2ufbXSw=
SALT=VBQk4V98zZ8L8xwpvI696Ixv88D5QfrciLU4fx/C4VQ=
AUTH_DISABLE_SIGNUP=false
Important security considerations:
- Replace ‘user’ and ‘pass’ with a strong username and password for your PostgreSQL database.
- The NEXTAUTH_SECRET and SALT values should be unique, randomly generated strings. You can use a tool like OpenSSL to generate these securely.
For example, to generate a secure NEXTAUTH_SECRET, you could use:
openssl rand -base64 32Remember, never share these secrets or commit them to version control. Treat them with the same level of security as you would any other sensitive credentials.
You have all the variables that can be used in Langfuse Self-Hosting Guide
4. Deploying the Docker Compose File for LangFuse
Once you have your Docker Compose and .env files set up, deploying LangFuse is straightforward. Simply run the following command in the directory containing your Docker Compose file:
docker-compose up -dThis command will:
- Pull the necessary Docker images if they’re not already present on your system.
- Create and start the containers defined in your Docker Compose file.
- Run the containers in detached mode (-d), allowing them to run in the background.
After running this command, you should see output indicating that the containers are being created and started. Once complete, you can verify that the containers are running with:
docker-compose psThis will show you the status of your LangFuse and PostgreSQL containers.
5. Implementing SSL with CloudFlare Tunnels for Langfuse
CloudFlare Tunnels offer a innovative solution for securely connecting your web applications to the internet without the need for public IP addresses or opening inbound ports on your firewall. This service, part of CloudFlare’s suite of security and performance tools, provides a secure tunnel between your origin server and CloudFlare’s edge network.
CloudFlare Tunnels operate on a simple yet powerful principle:
- Outbound Connection: Your server initiates an outbound connection to CloudFlare’s network using the CloudFlare daemon (cloudflared).
- Tunnel Creation: This connection establishes a secure tunnel between your origin and CloudFlare’s edge.
- Traffic Routing: Incoming requests to your domain are routed through this tunnel to your origin server.
- Response Delivery: Responses from your server are sent back through the tunnel and delivered to the user.
This process effectively eliminates the need for traditional port forwarding or firewall configuration, as all traffic flows through the secure tunnel.
Go in Access - Tunnels and choose the tunnel you created and add a hostname that will link a domain or subdomain and the service and port.

You can also check Setup CloudPanel as Reverse Proxy with Docker and Dokge to use CloudPanel as a reverse proxy to your Docker containers or How to Use Traefik as A Reverse Proxy in Docker.
6. Access the Langfuse UI
Now after you set the subdomain in Cloudflare tunnels you can go and access the aplication with the url. First you will be promted to create a username and a password and after you can access the apps.
You can create your first project and start tracking the AI apps you have. You need to create an API key so you can use it with Langfuse, in the video you will find all the details as well as integrating this with Flowise AI.

7. Disable Signups
By default anyone can sign up and create an account, after you create you account you can alter the .env and change the AUTH_DISABLE_SIGNUP=false to AUTH_DISABLE_SIGNUP=true
this will not allow for new accounts to be created via sign up.
You need to restart your container for this change to be activated:
docker compose pull
docker compose up -d
Conclusion
In conclusion, as AI continues to transform industries and drive innovation, the importance of robust observability tools cannot be overstated. LangFuse on Docker offers a powerful, flexible, and cost-effective solution for organizations looking to gain deeper insights into their AI models’ performance while maintaining control over their data and infrastructure.
By implementing self-hosted observability solutions like LangFuse, AI developers and organizations can unlock new levels of performance, reliability, and innovation in their AI projects. The time to act is now – start exploring how LangFuse on Docker can revolutionize your AI development process and drive your projects to new heights of success.
If you’re interested in exploring more Docker containers for your home server or self-hosted setup, including other AI and productivity tools, check out our comprehensive guide on Best 100+ Docker Containers for Home Server. This resource provides a wealth of options for various applications and services you can run using Docker, helping you build a powerful and versatile self-hosted environment that can complement your LangFuse installation and enhance your overall AI development ecosystem.