Coolify Install A Free Heroku and Netlify Self-Hosted Alternative
Free Heroku and Netlify alternative? Coolify Install is an easy-to-use self-hosted platform that will help you get started quickly, without any complicated setup.

If you want a free Netlify or Heroku alternative that is self-hosted then Coolify is the best option out there.
Coolify is an open-source and self-hosted Heroku alternative that offers users the same features as Heroku, such as automated deployment, scalability, and easy configuration, but with the added benefit of being self-hosted.
This gives users full control over their hosting environment and access to features such as multi-application and multi-domain support, application backup and restore, and more.
Minimum requirements for Coolify
- 2 CPUs
- 2 GB of memory
- 30+ GB of storage for images.
With Coolify you can deploy the following:
Applications
- Static sites
- NodeJS
- VueJS
- NuxtJS
- NextJS
- React/Preact
- Gatsby
- Svelte
- PHP
- Laravel
- Rust
- Docker
- Python
- Deno
Databases
- MongoDB
- MariaDB
- MySQL
- PostgreSQL
- CouchDB
- Redis
Services
- WordPress
- Ghost
- Plausible Analytics
- NocoDB
- VSCode Server
- MinIO
- VaultWarden
- LanguageTool
- n8n
- Uptime Kuma
- MeiliSearch
- Umami
- Fider
- Hasura
The full list of Services Templates for Coolify
Supported Architectures
AMD64 and ARM architecture are supported. Debian based servers are supported, due to the installation script.
With Coolify you can deploy projects from GitHub or GitLab and like Netlify or Heroku if something is updated in the repo it will be updated in the deployment.
Another alternative to Coolify is EasyPanel you can check: Easypanel.io: A Modern Hosting Panel for Applications and Databases for more details.
Video With Coolify Install
If you are interested to see some free cool open source self hosted apps you can check toolhunt.net self hosted section.
How to Install Coolify on a VPS
In this section we will go through all the steps we need to do to get Coolify installed on a VPS server. You can use any VPS provider you want, the most known are DigitalOcean, Vultr, Hetzner, I also wrote an article and made a video with the benchmarks here: DigitalOcean vs Vultr vs Hetzner you can check it out.
In this tutorial we are going to use Hetzner for this where we have the VPS created and we can SSH to it to have Coolify installed.
DigitalOcean $100 Free Vultr $100 Free Hetzner €20 FreeBelow are some of the tutorials on Coolify:
Installing Coolify on Ubuntu 22.04
We are going to install Coolify on a Ubuntu 22.04 server. To do this, you just need to SSH to the VPS server and run the following command:
wget -q https://get.coollabs.io/coolify/install.sh \
-O install.sh; sudo bash ./install.sh
While I was installing the script I saw that docker 23 version was released and I had to go into the install script and change DOCKER_MAJOR=23 DOCKER_MINOR=0 for the installation to work, this is a new thing as docker was just released.
If you are interested is how you can monitor your CPU and have an automatic email sent when load is too big you should check: Monitor CPU Usage and Send Email Alerts in Linux
Create a Coolify user
All you need to do is register a new account in the login area with http://ip:3000. You can enter your email and password.
Point the domain/subdomain to the server
To access Coolify securely, you need to point your domain or subdomain to the server IP. All you need to do is add an A record and point it to the server IP.
Add an admin URL
To do this, go to Settings - Coolify Settings and in URL (FQDN) add your admin domain.
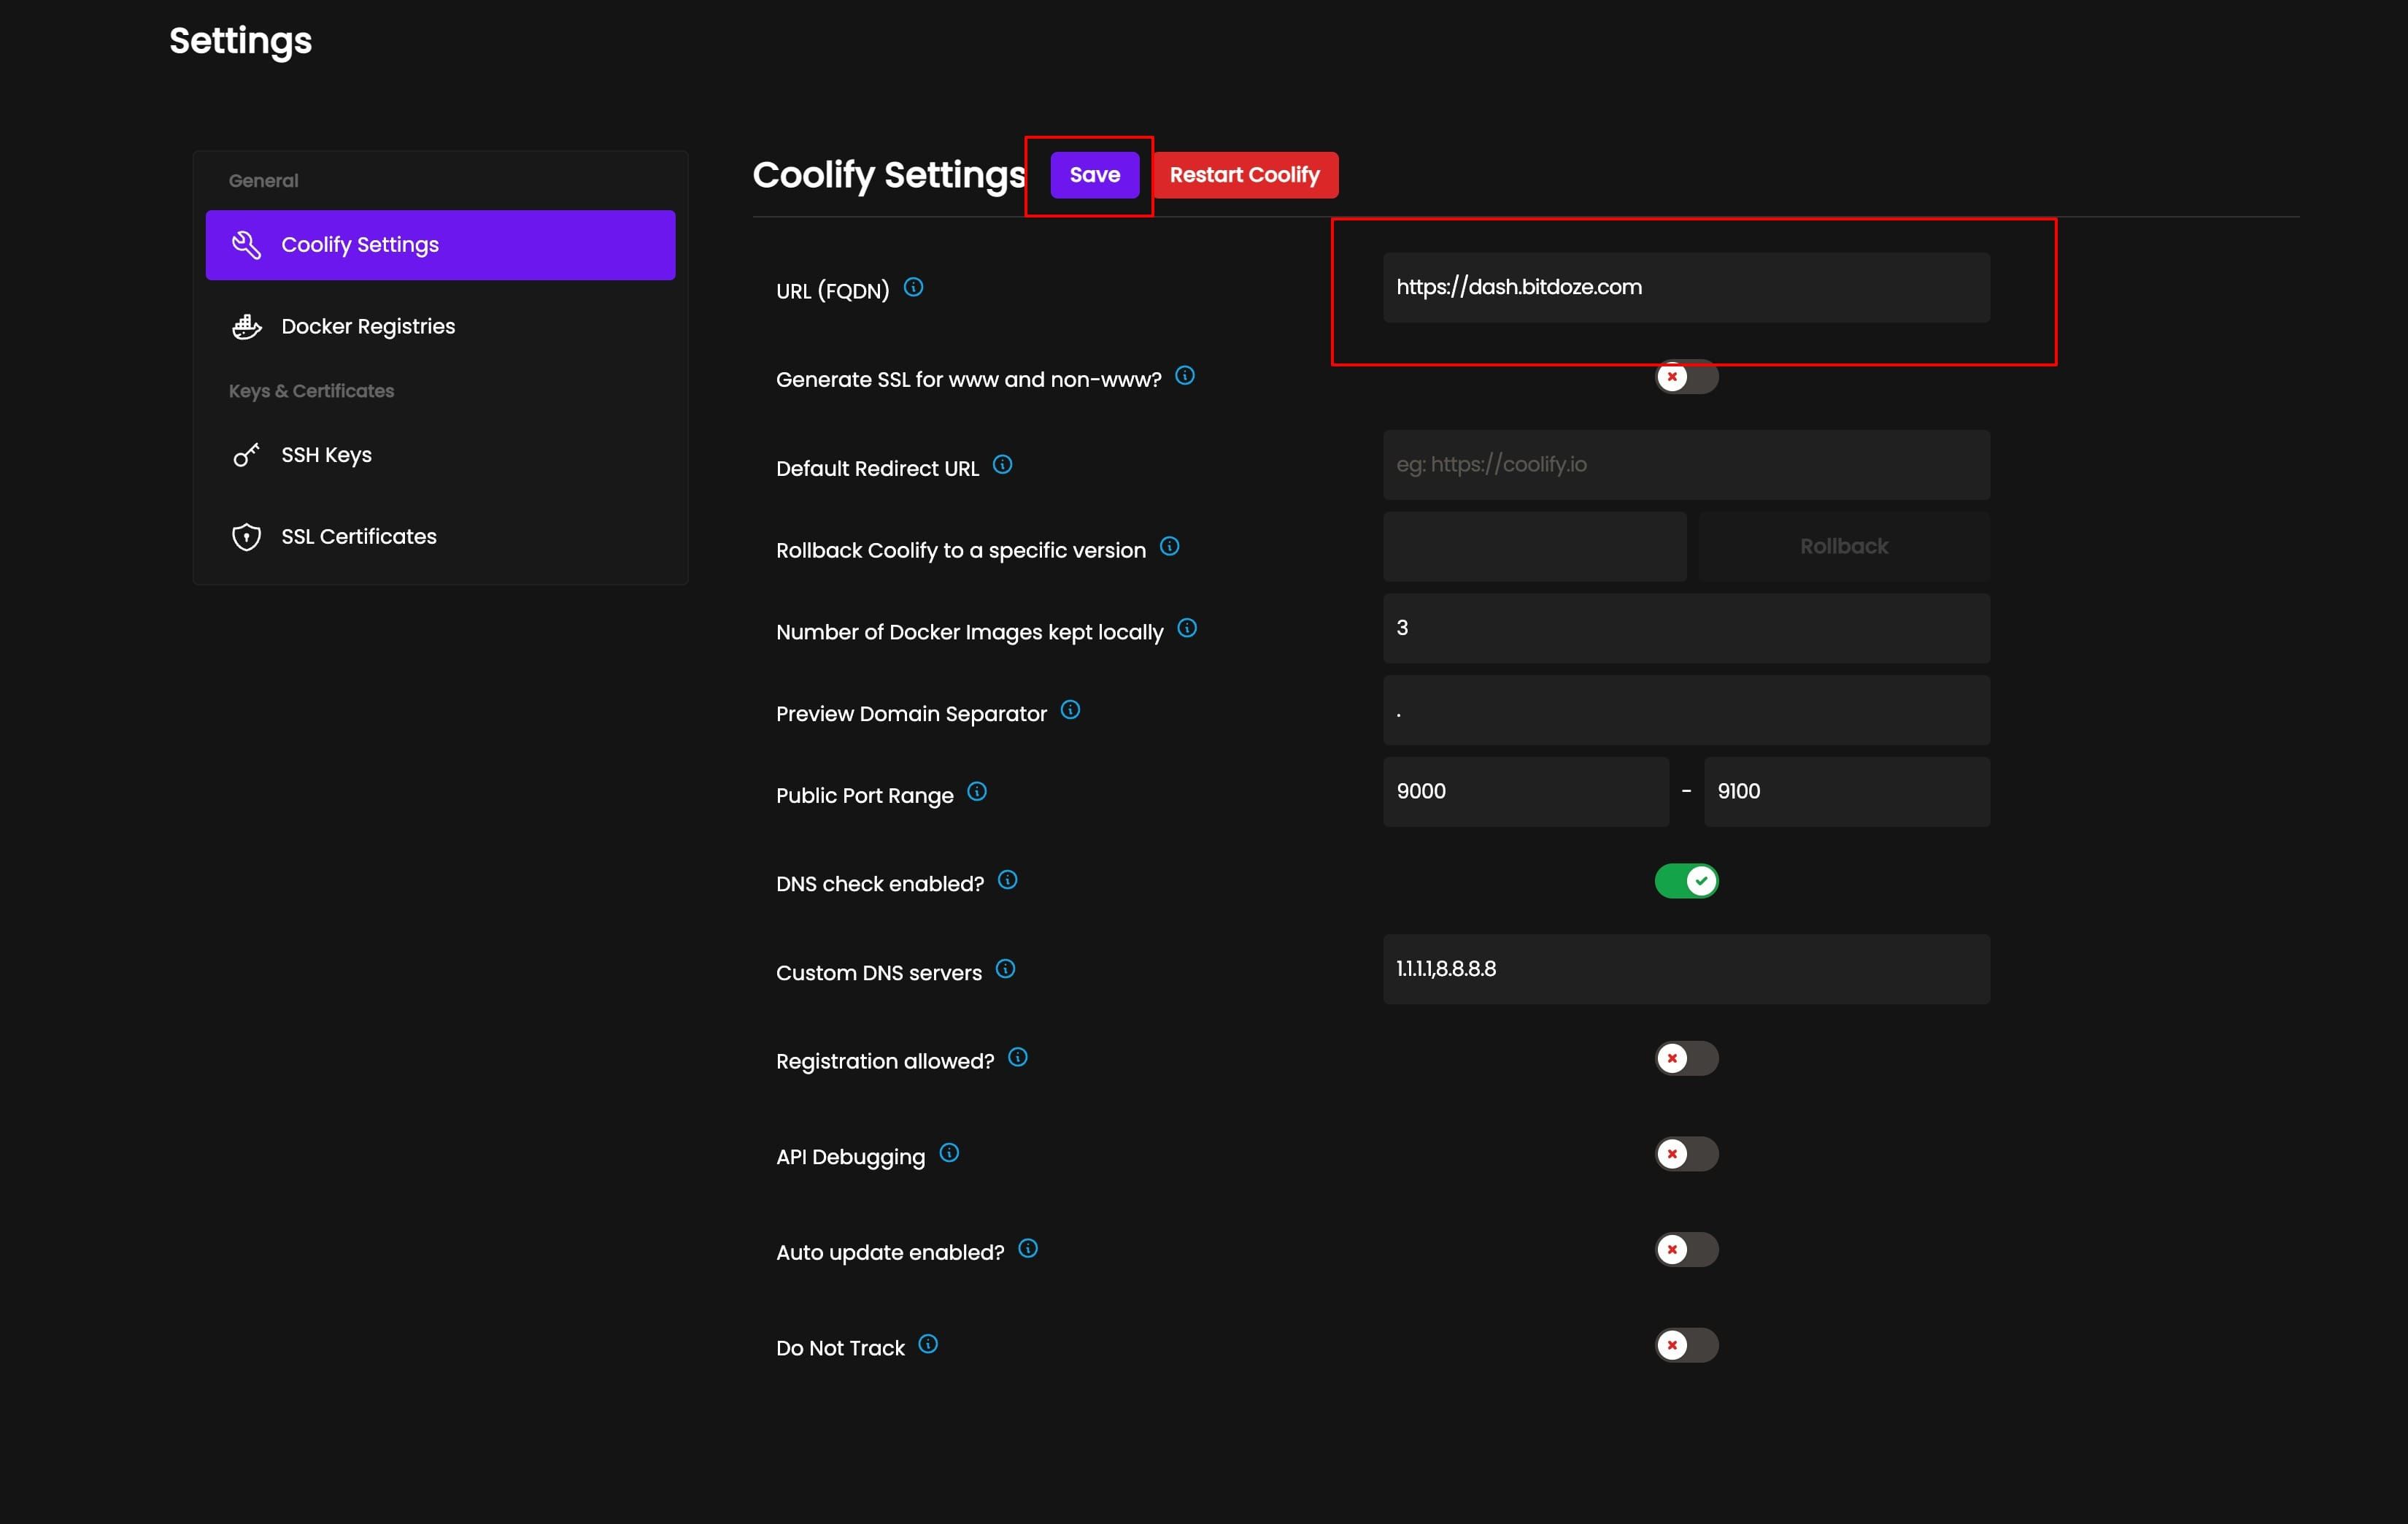
After that, you can use the new URL to sign in and deploy applications or services.
Add a GitHub repo
This will link your GitHub profile to Coolify so you can choose which repo to deploy from, to do this just go to
Create New Resource and select the git source, just add it there and follow the prompts. The video has all the details.
Deploy and Node.js static website.
I have this website that is hosted on CloudFlare Pages and I will deploy it on a subdomain with Coolify to see exactly how it works.
Creating the application
The first step is to go to Create New Resource - Application and select Github, as shown in the image below:
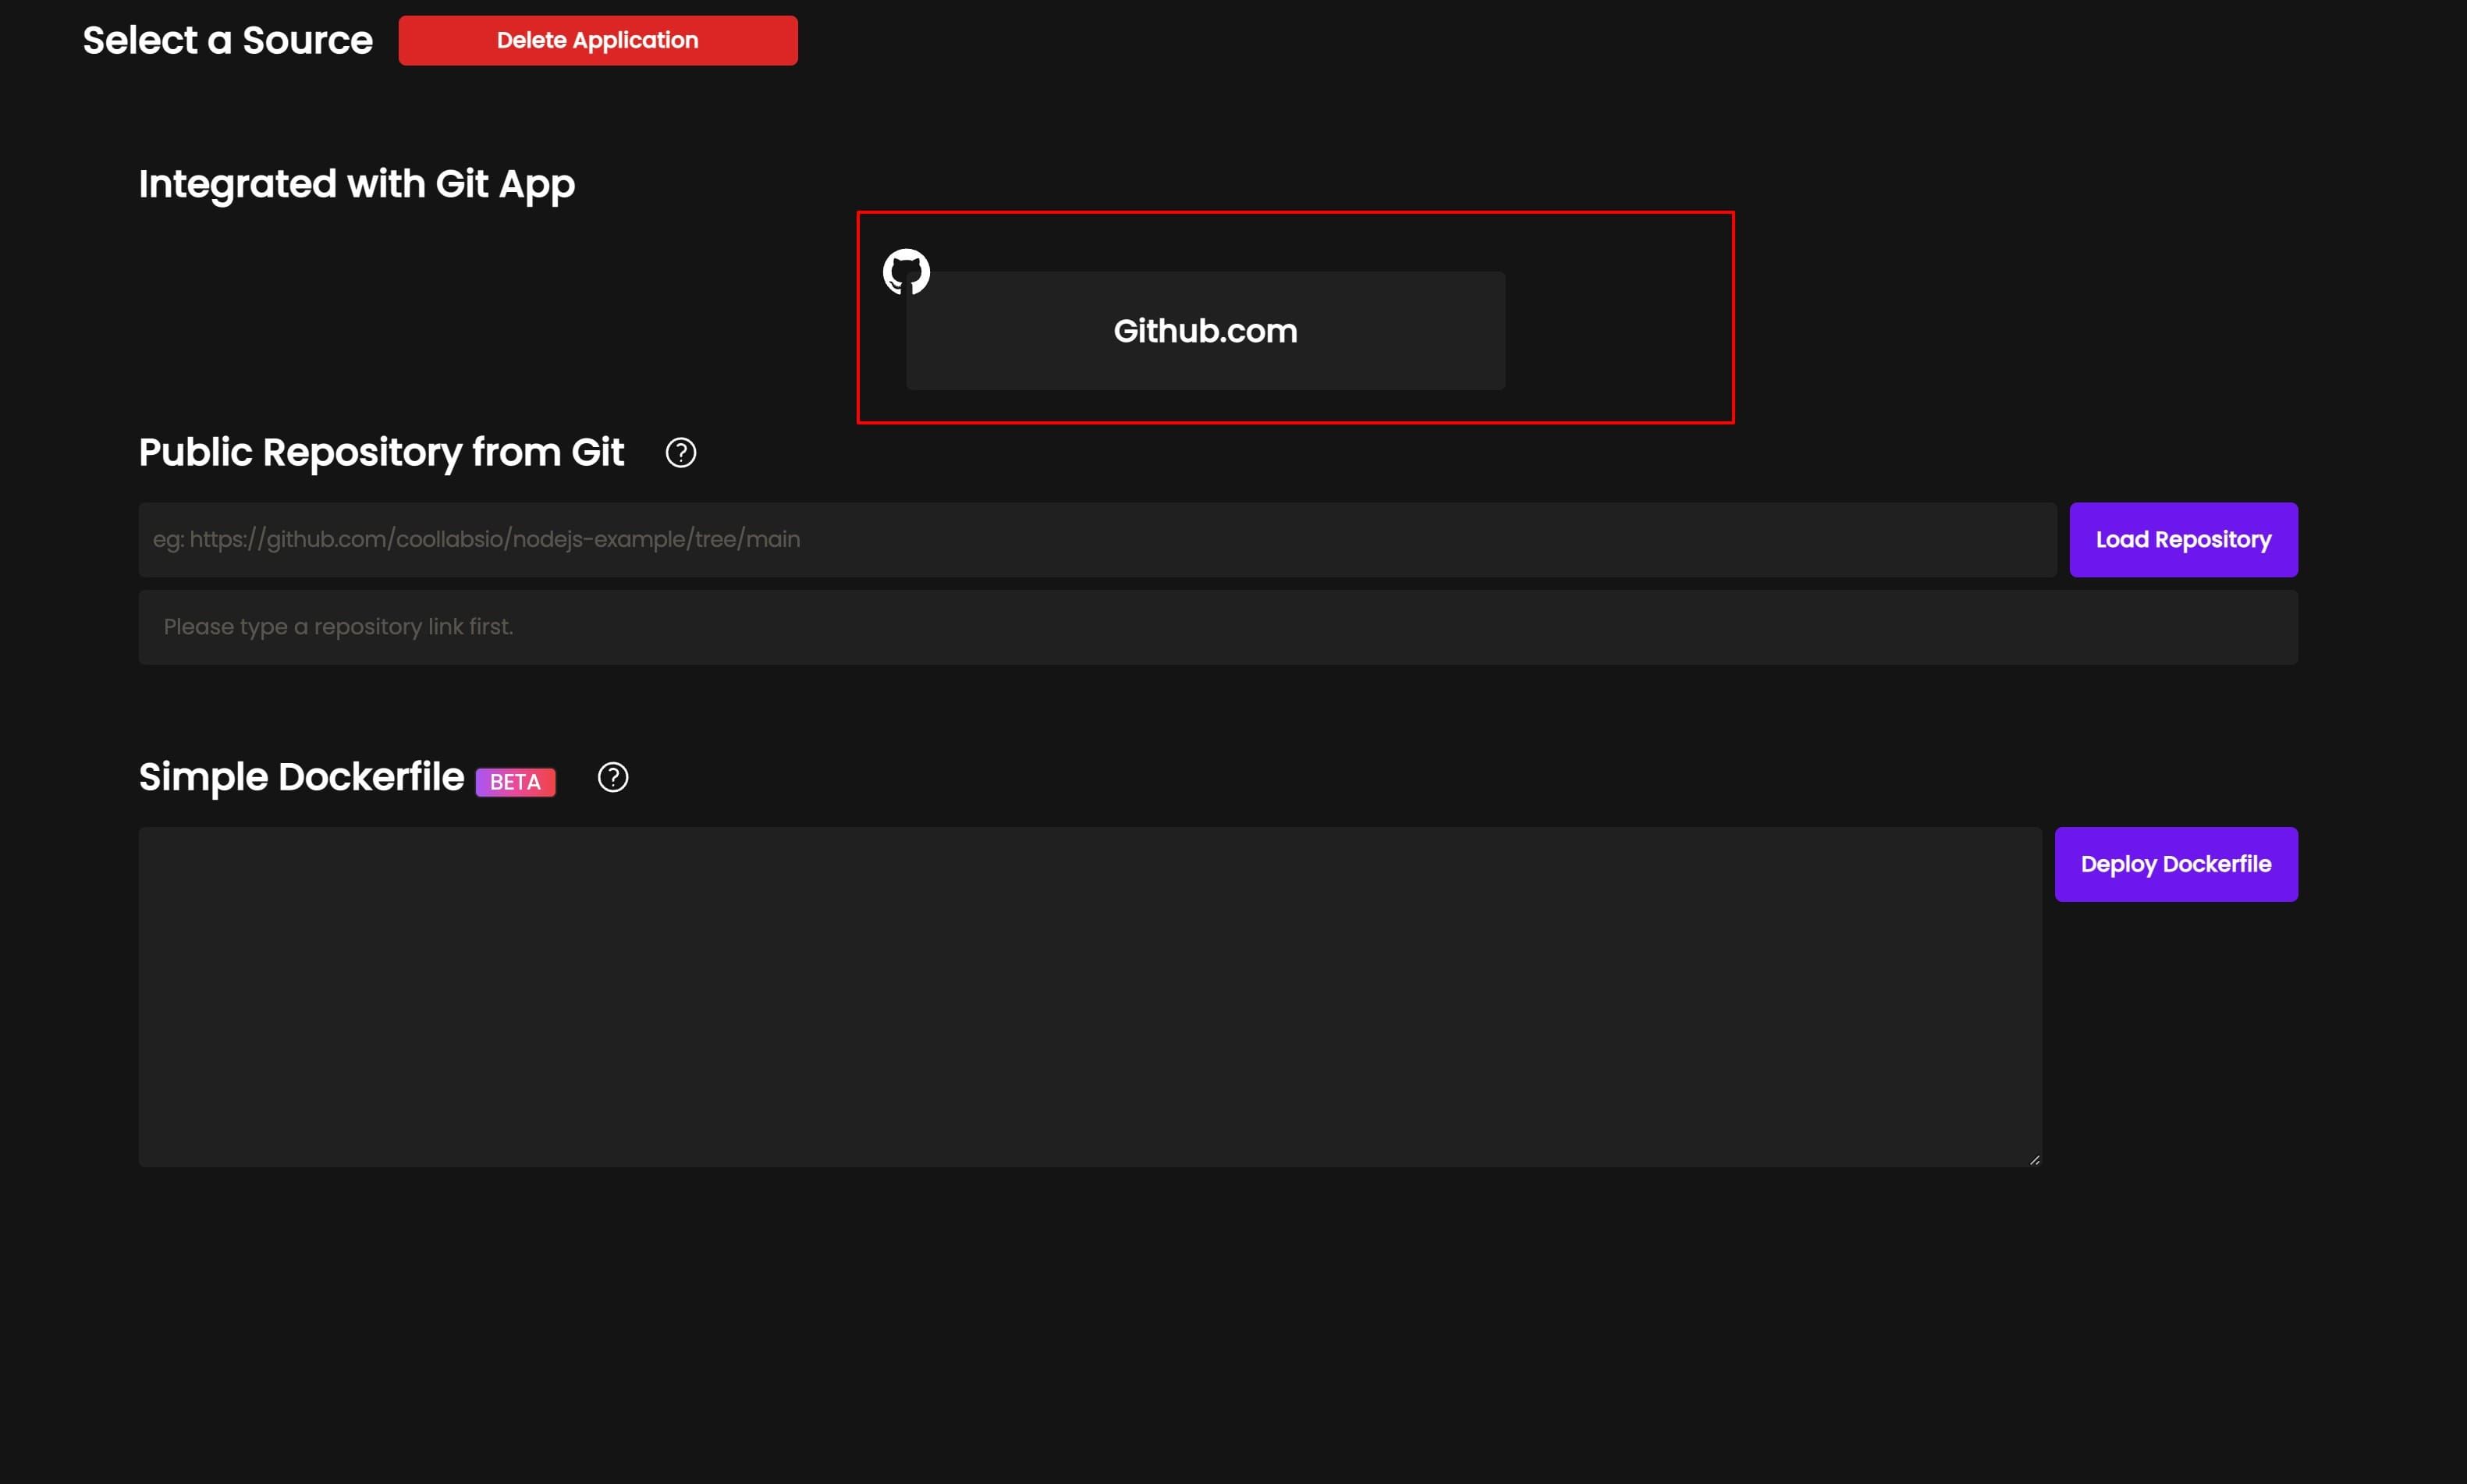
After you select the repo and branch and hit save. After you get something like the below where you have the type, in my case this is an astro website and it is selected:
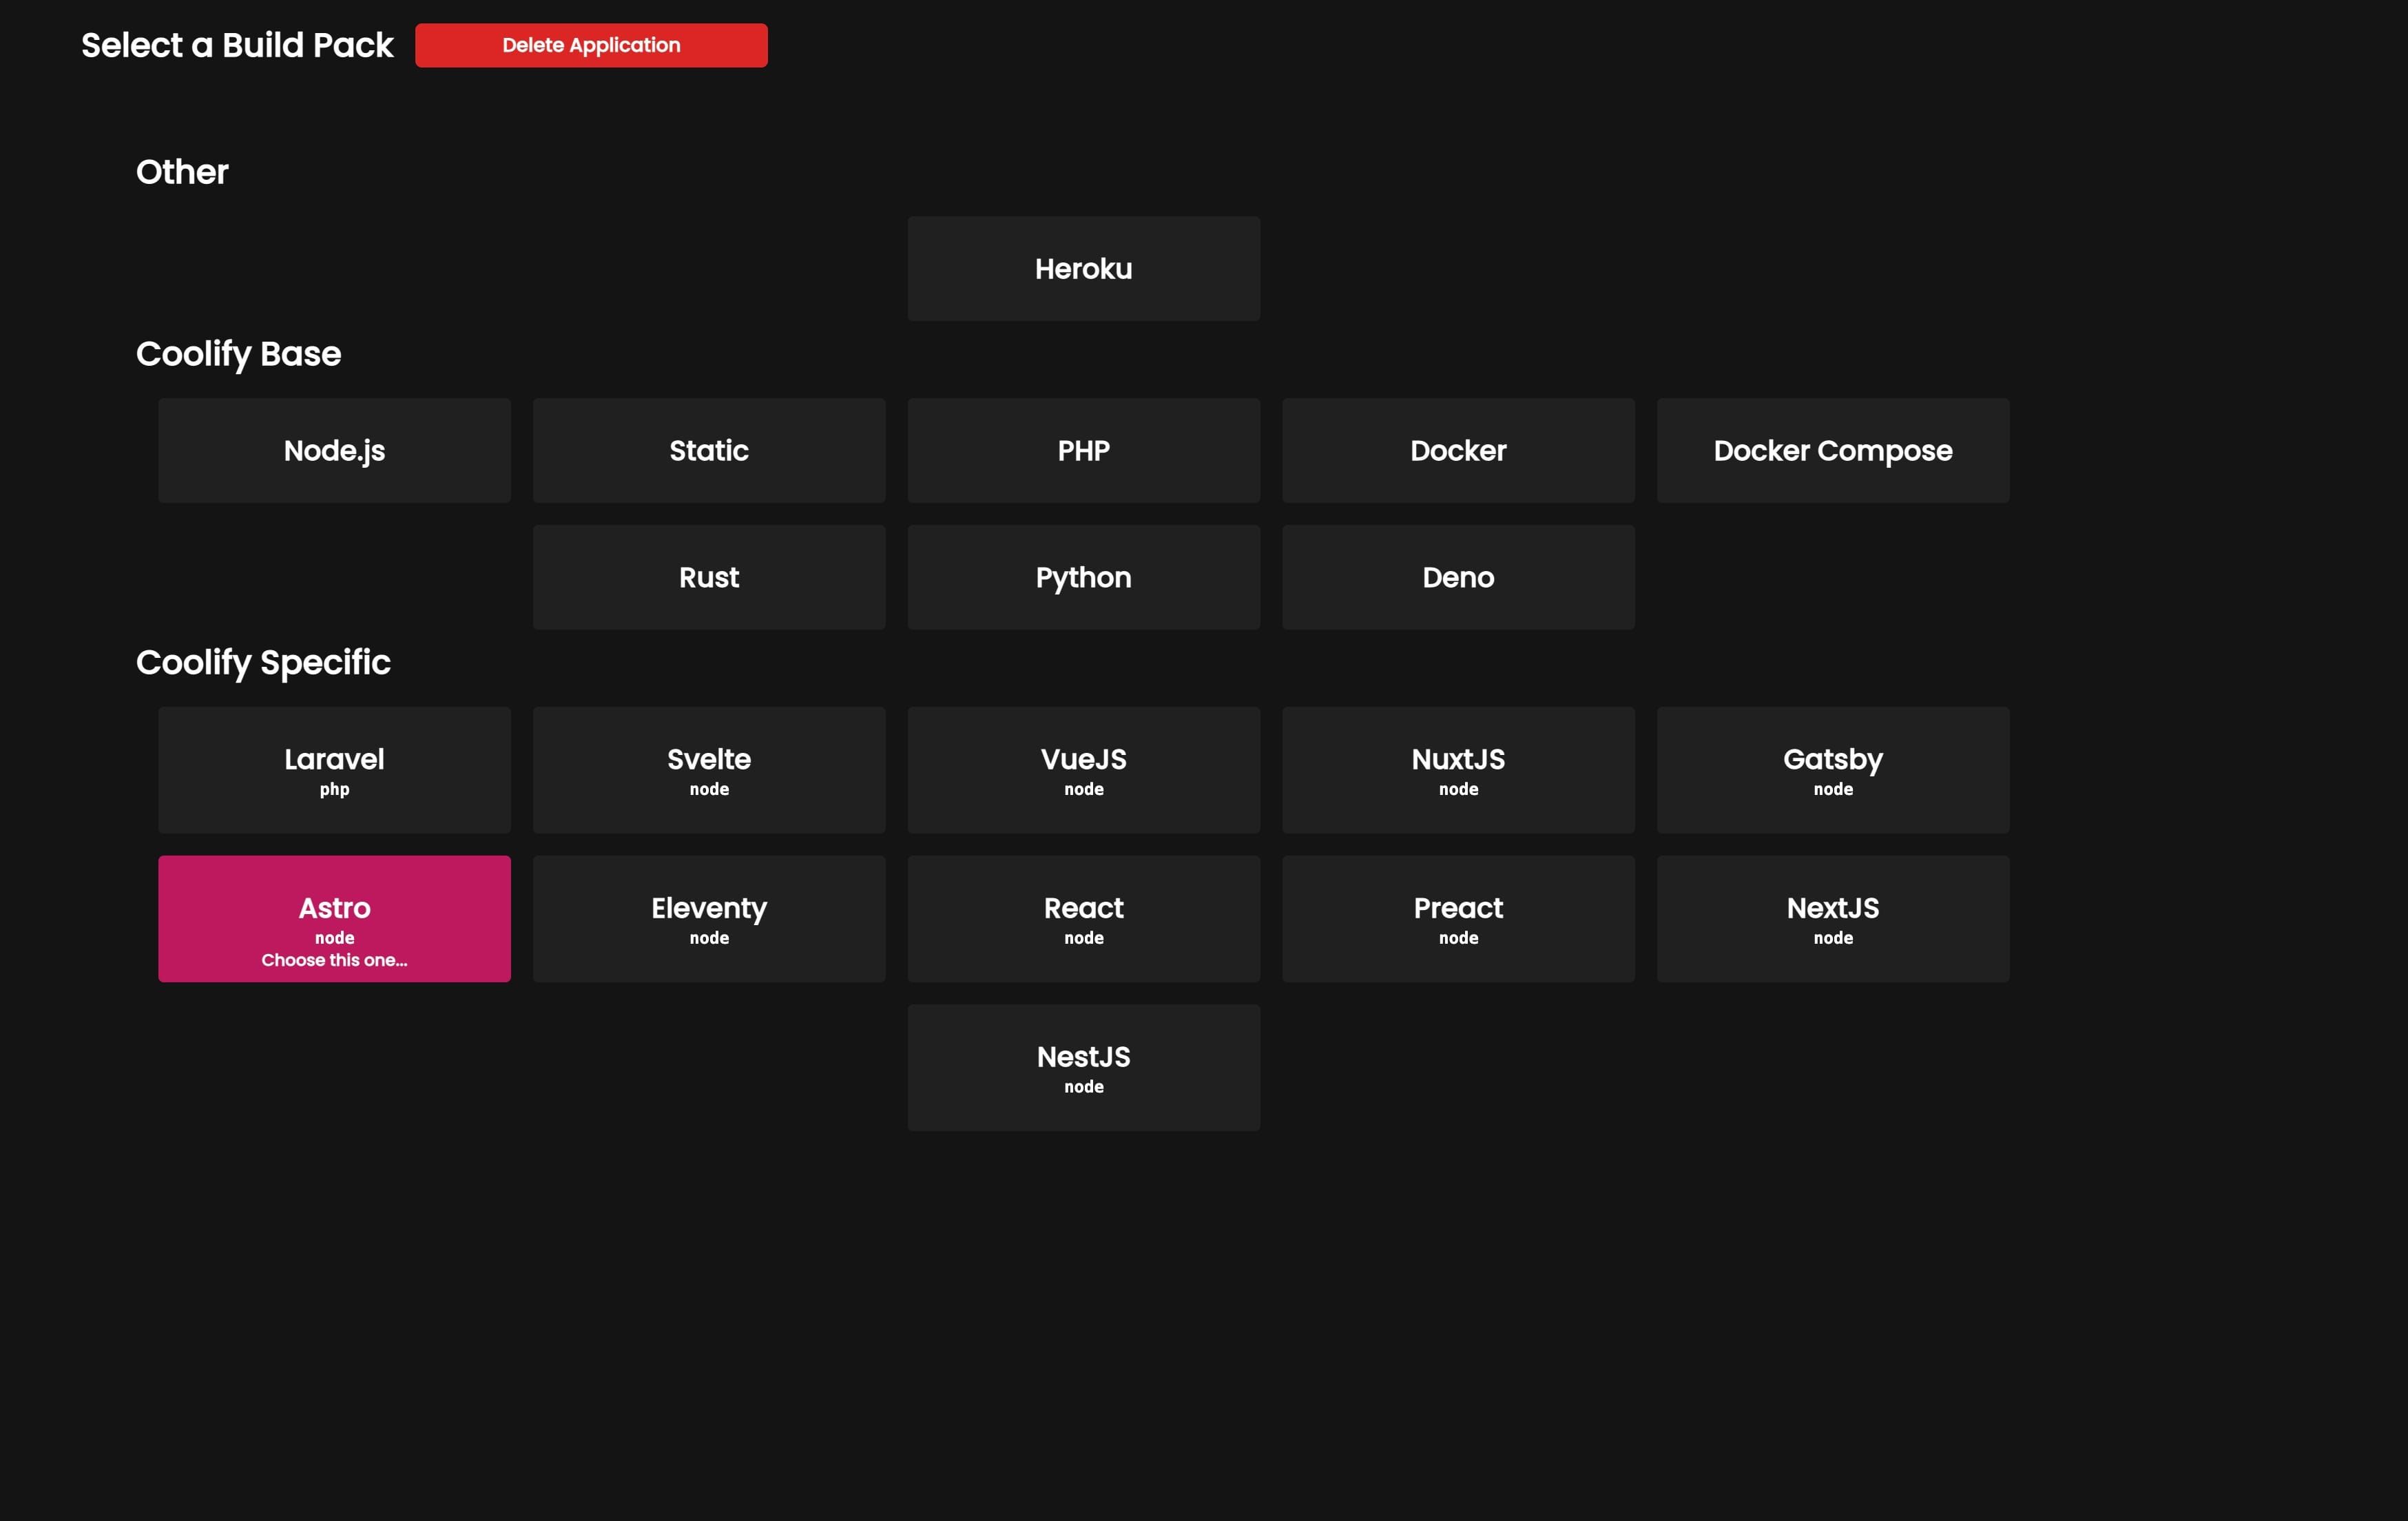
Point the domain to the serve
To access the static website you just need to go and point the subdomain or website to the server again, just add a record for root or subdomain in function of what you are using.
DigitalOcean $100 Free Vultr $100 Free Hetzner €20 FreeAdding the domain to Coolify
After you point the domain you just add the URL as in the picture below, everything will be set up as in the picture below as sees that Astro is used:
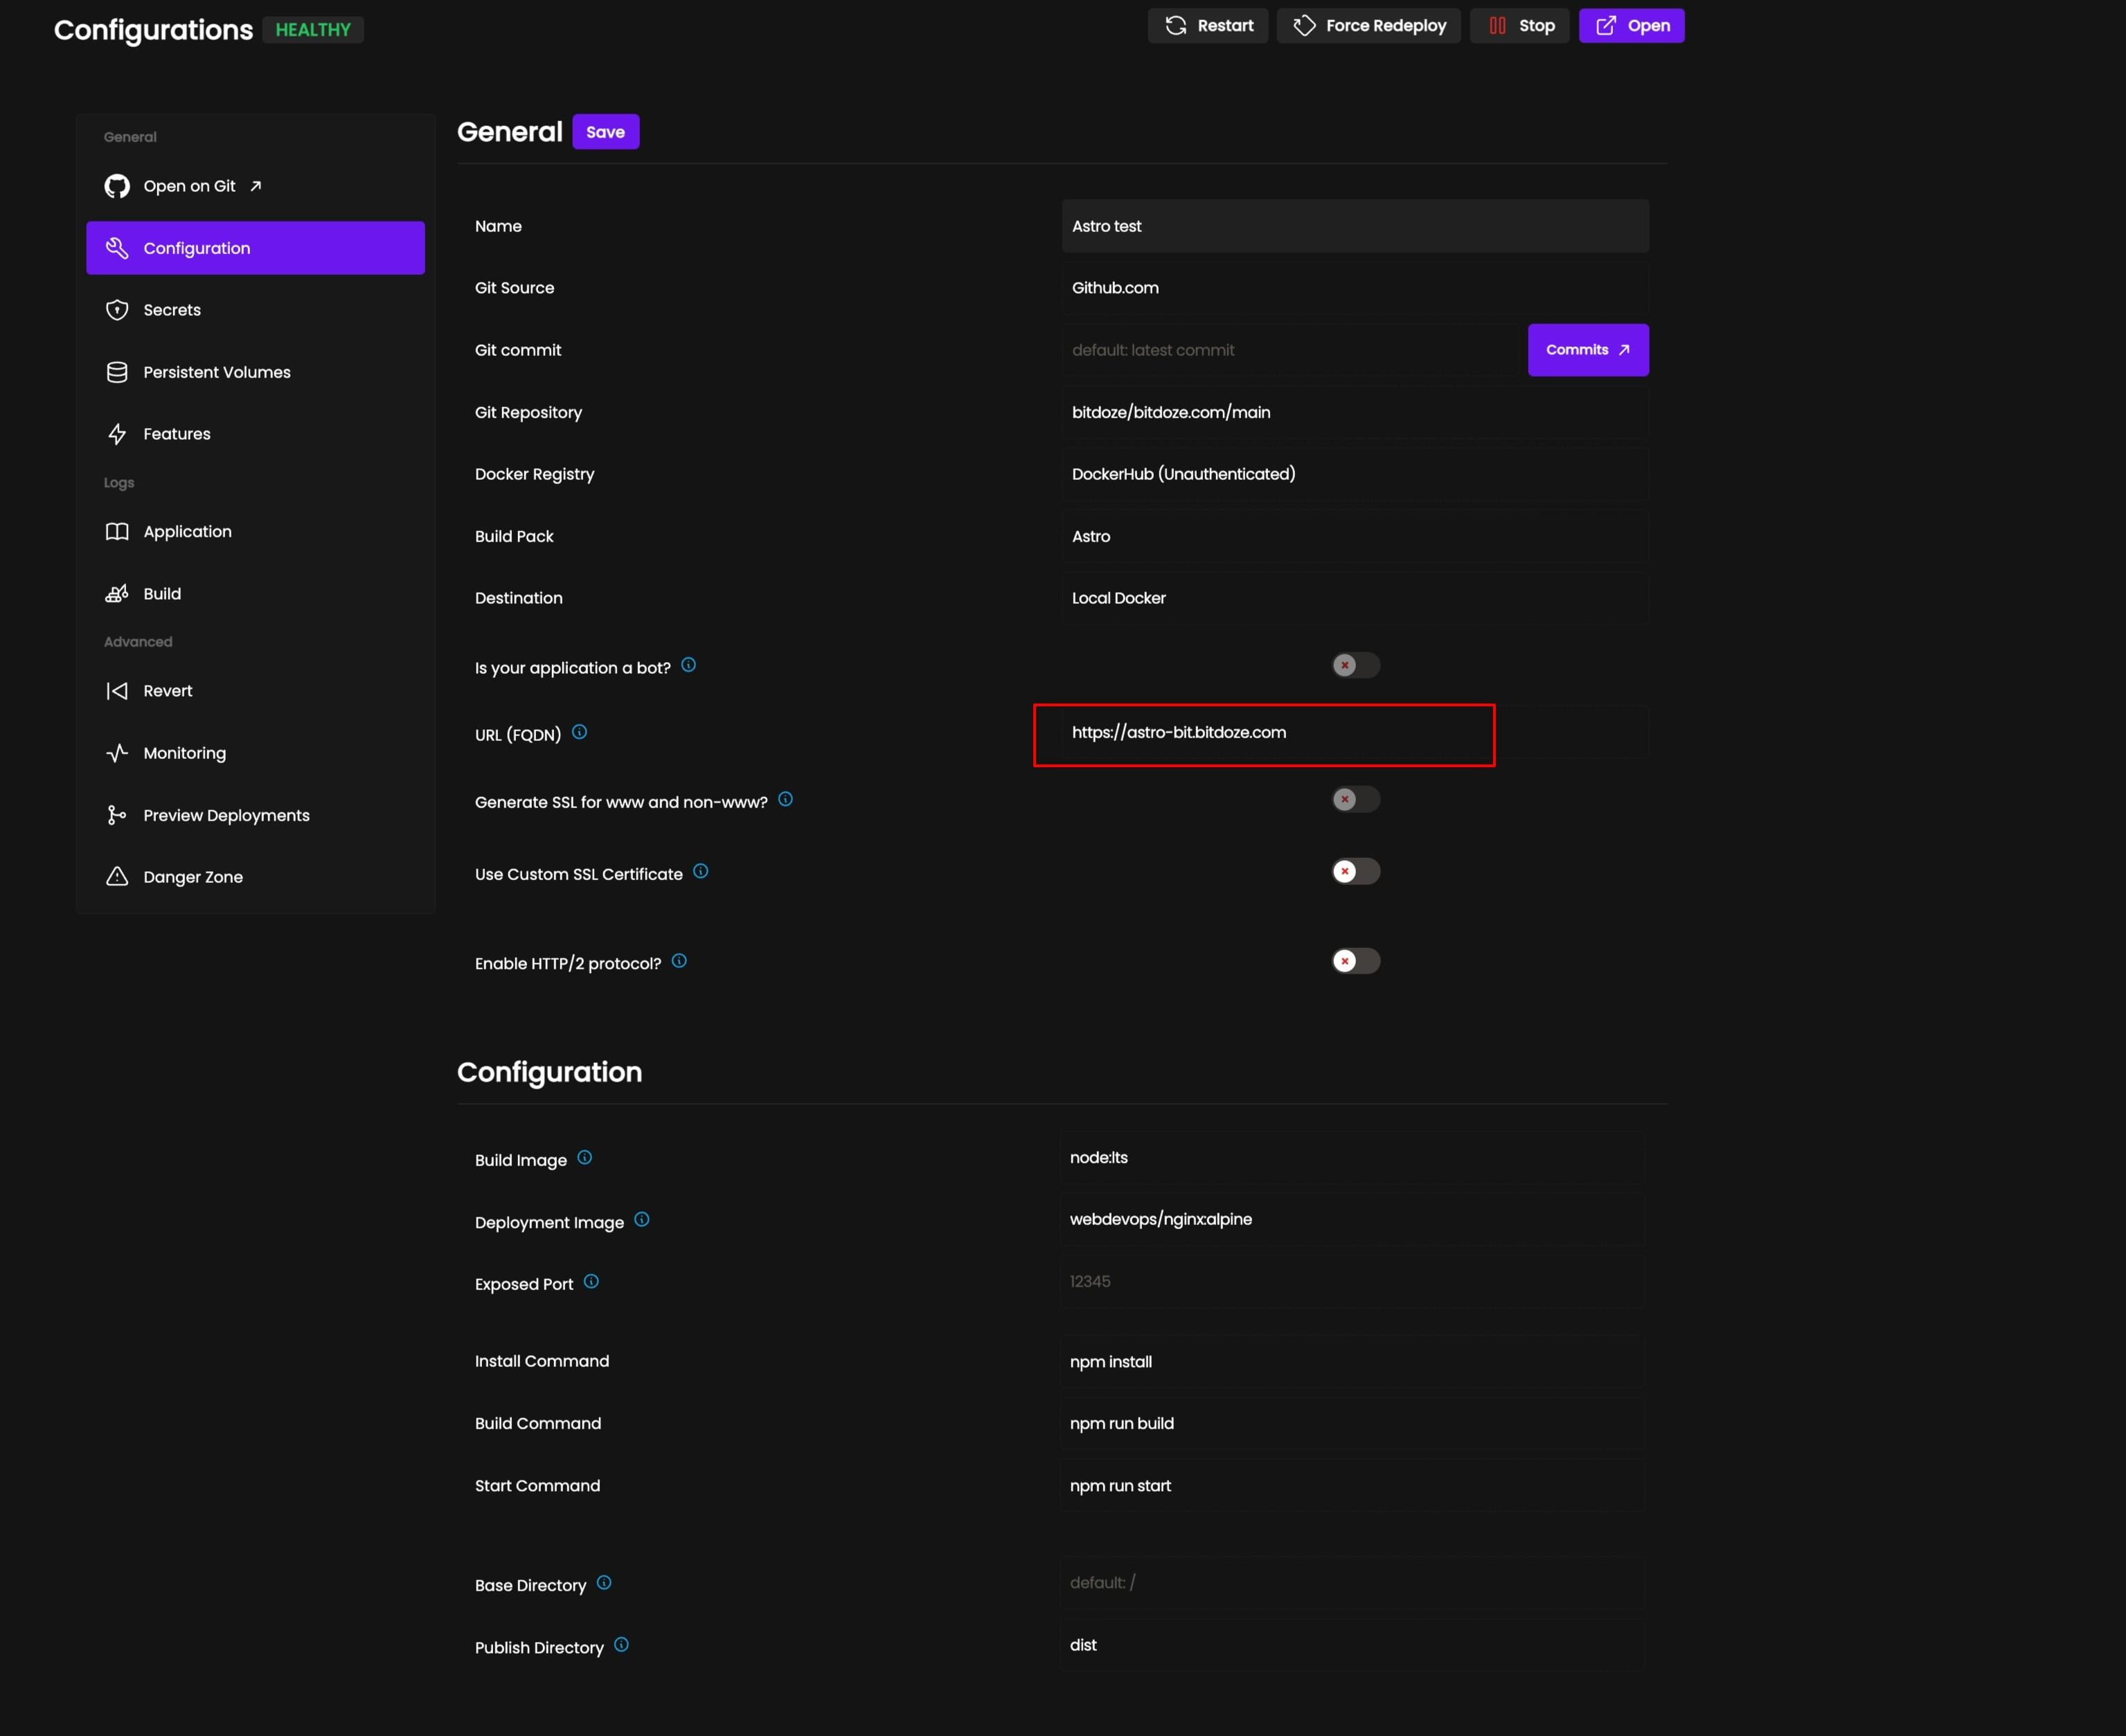
After you hit save, just hit deploy. It will take longer the first time, but after the build it will be faster.
If you change something, Coolify will automatically fetch the latest version, just like Heroku or Netlify or other cloud deployments out there. This is enabled in Features - Enable Automatic Deployment.
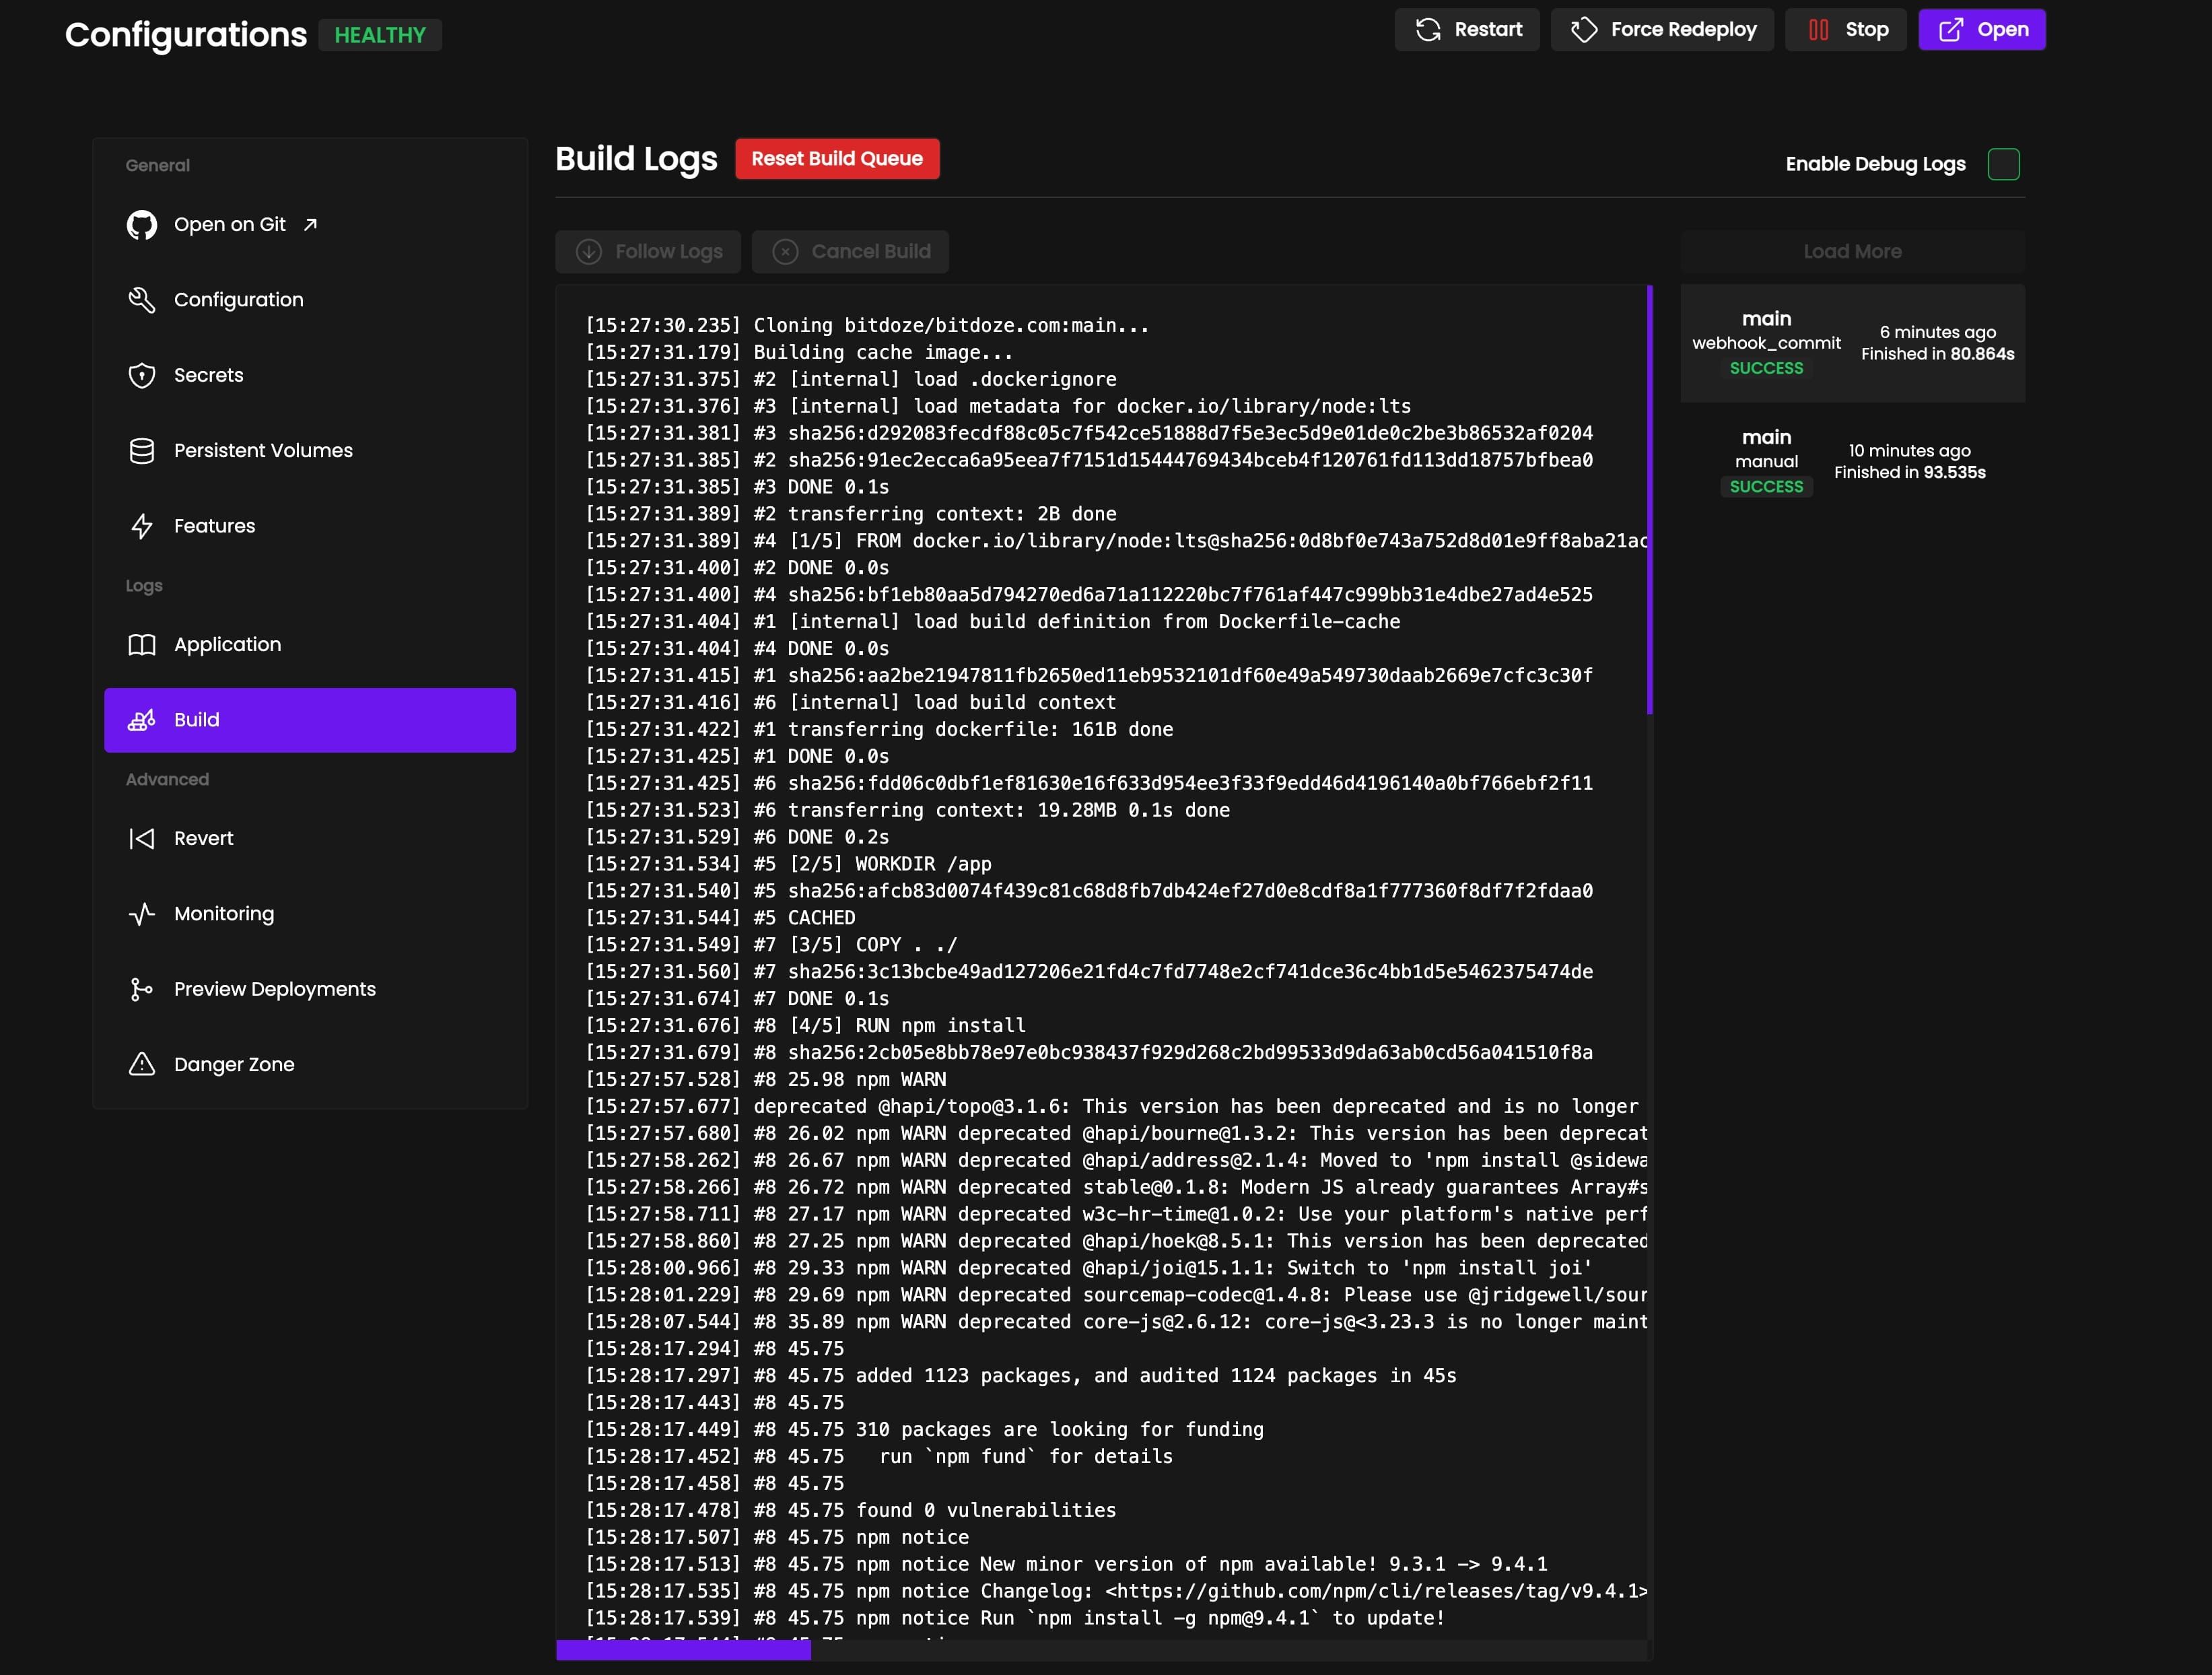
After that you can go and deploy a database or an application to see exactly how easy it is and without any problems.
Conclusion
In conclusion,Coolify Install is an excellent free alternative to Heroku and Netlify for those looking for a self-hosted solution. It’s easy to install, configure, and manage with its intuitive user interface. Additionally, the platform supports all of the main programming languages, so it’s suitable for development projects in any field.
DigitalOcean $100 Free Vultr $100 Free Hetzner €20 FreeIn case you are interested to have a web panel that can help you manage your applications and be used as a reverse proxy you can check the bellow course:
CloudPanel Setup CourseRelated Posts
Easypanel.io: A Modern Hosting Panel for Applications and Databases
Check out Easypanel.io, a web-based server control panel that helps you deploy and manage applications, databases, and SSL certificates with a simple and powerful interface. It supports various languages, frameworks, templates, and integrations. It also offers zero-downtime deployments and web consoles.

How To Install CloudPanel and Host Node.js Apps
Learn how to install CloudPanel and host Node.js apps in minutes! Follow our easy step-by-step guide for a quick set up with no coding experience required.

How To Extract Text From PDF In Command Line On Linux
Learn how to extract text from PDF files in command line on Linux using a simple and powerful tool called poppler-utils.